How to Enhance Images with Topaz Generative in Krea
by The Krea Team
Topaz Generative is a high-quality enhancer in Krea for images that need a slower, more detailed upscale. It is useful when you want the image to gain cleaner edges, stronger texture, and more polished detail while still following the original subject.
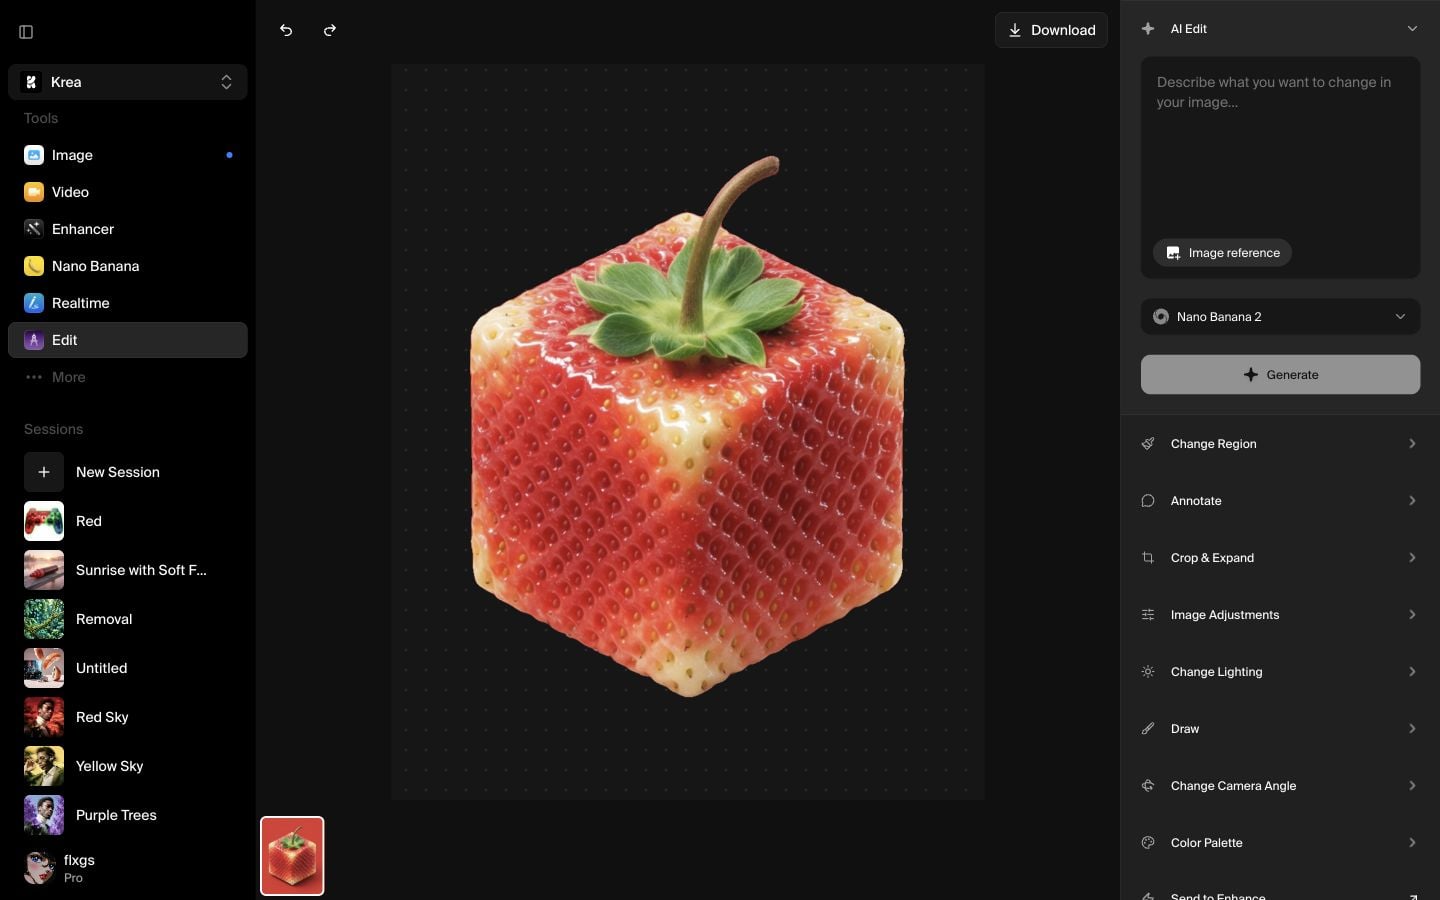
Start in Enhancer
Open Krea and choose Enhancer from the tools sidebar. Start from an image that already has a strong subject and composition. Topaz Generative can improve detail, but it works best when the source image already has a clear direction.
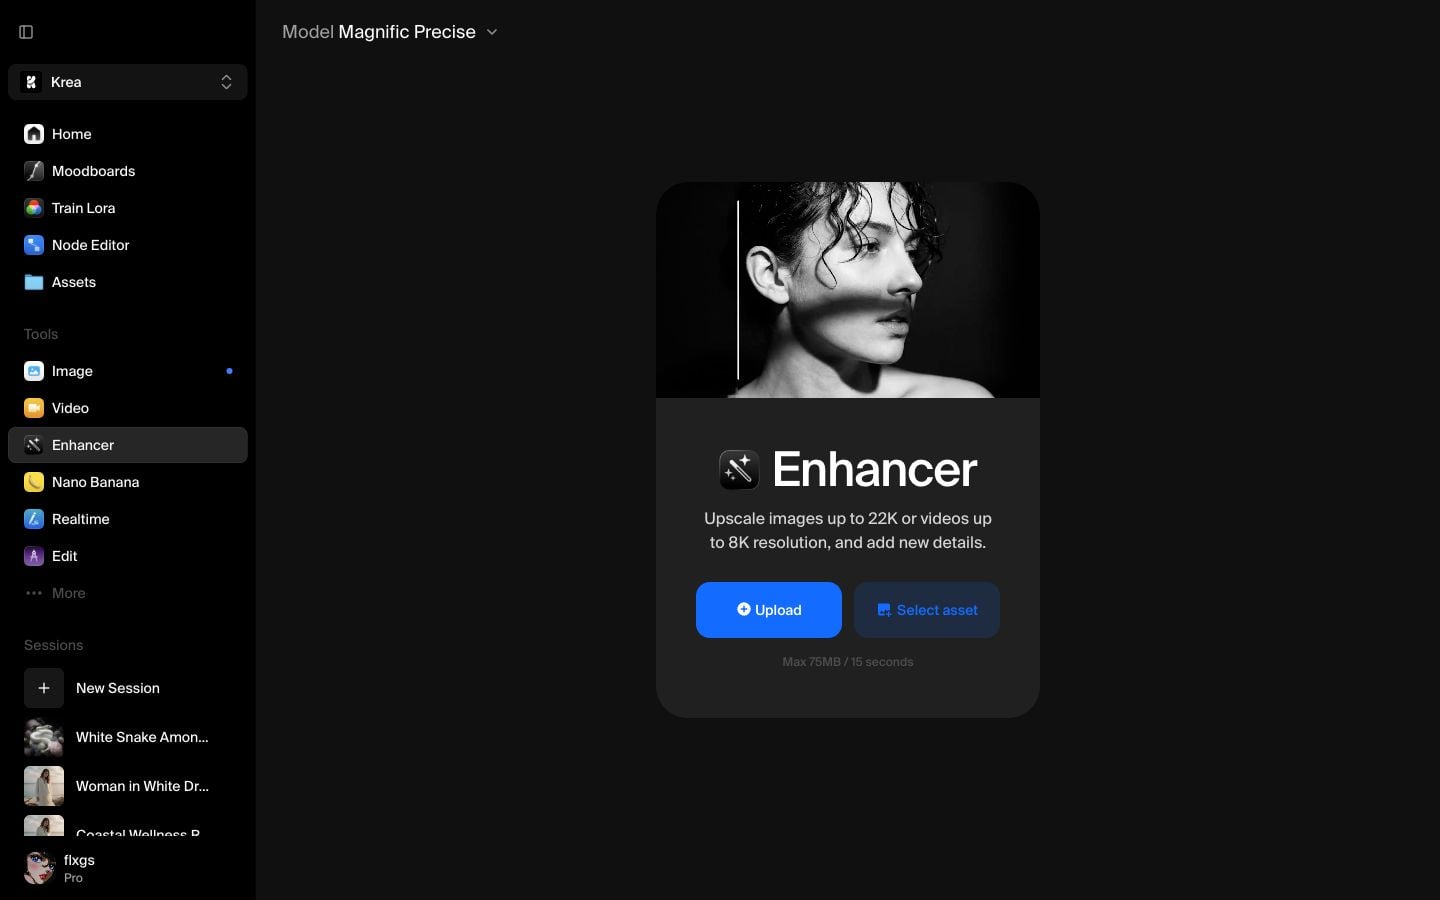
Pick a recent image from Assets
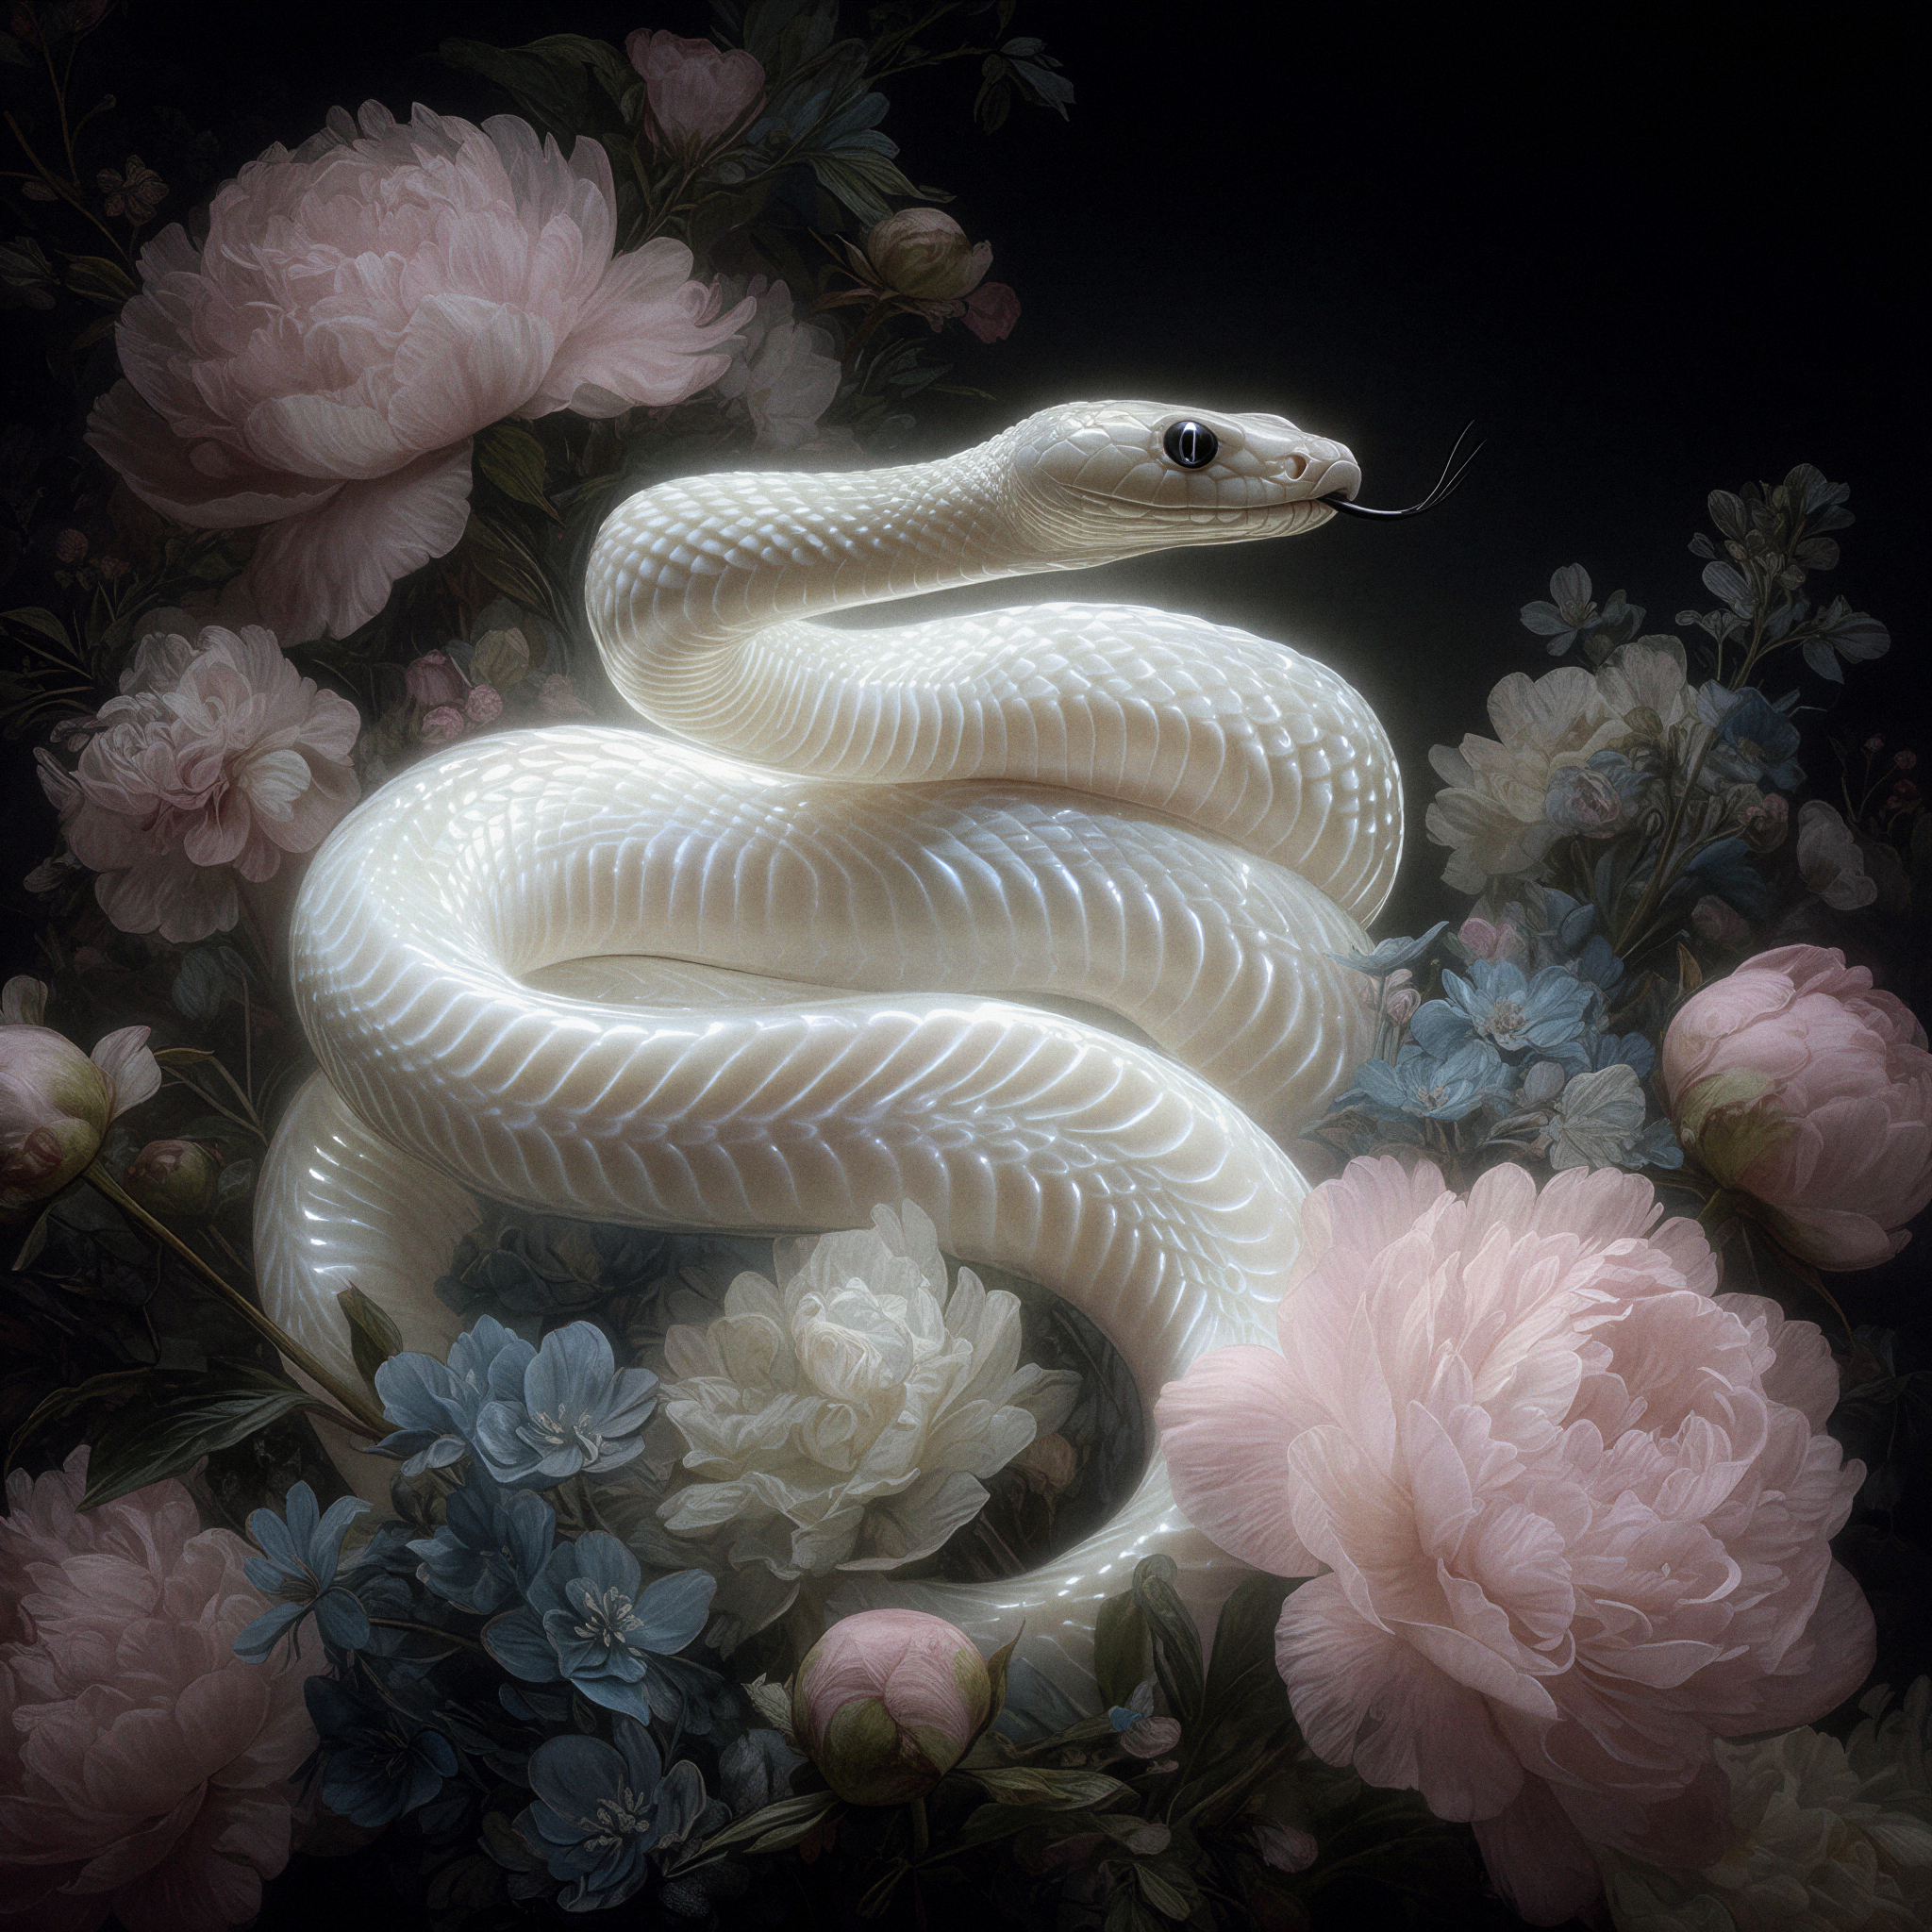
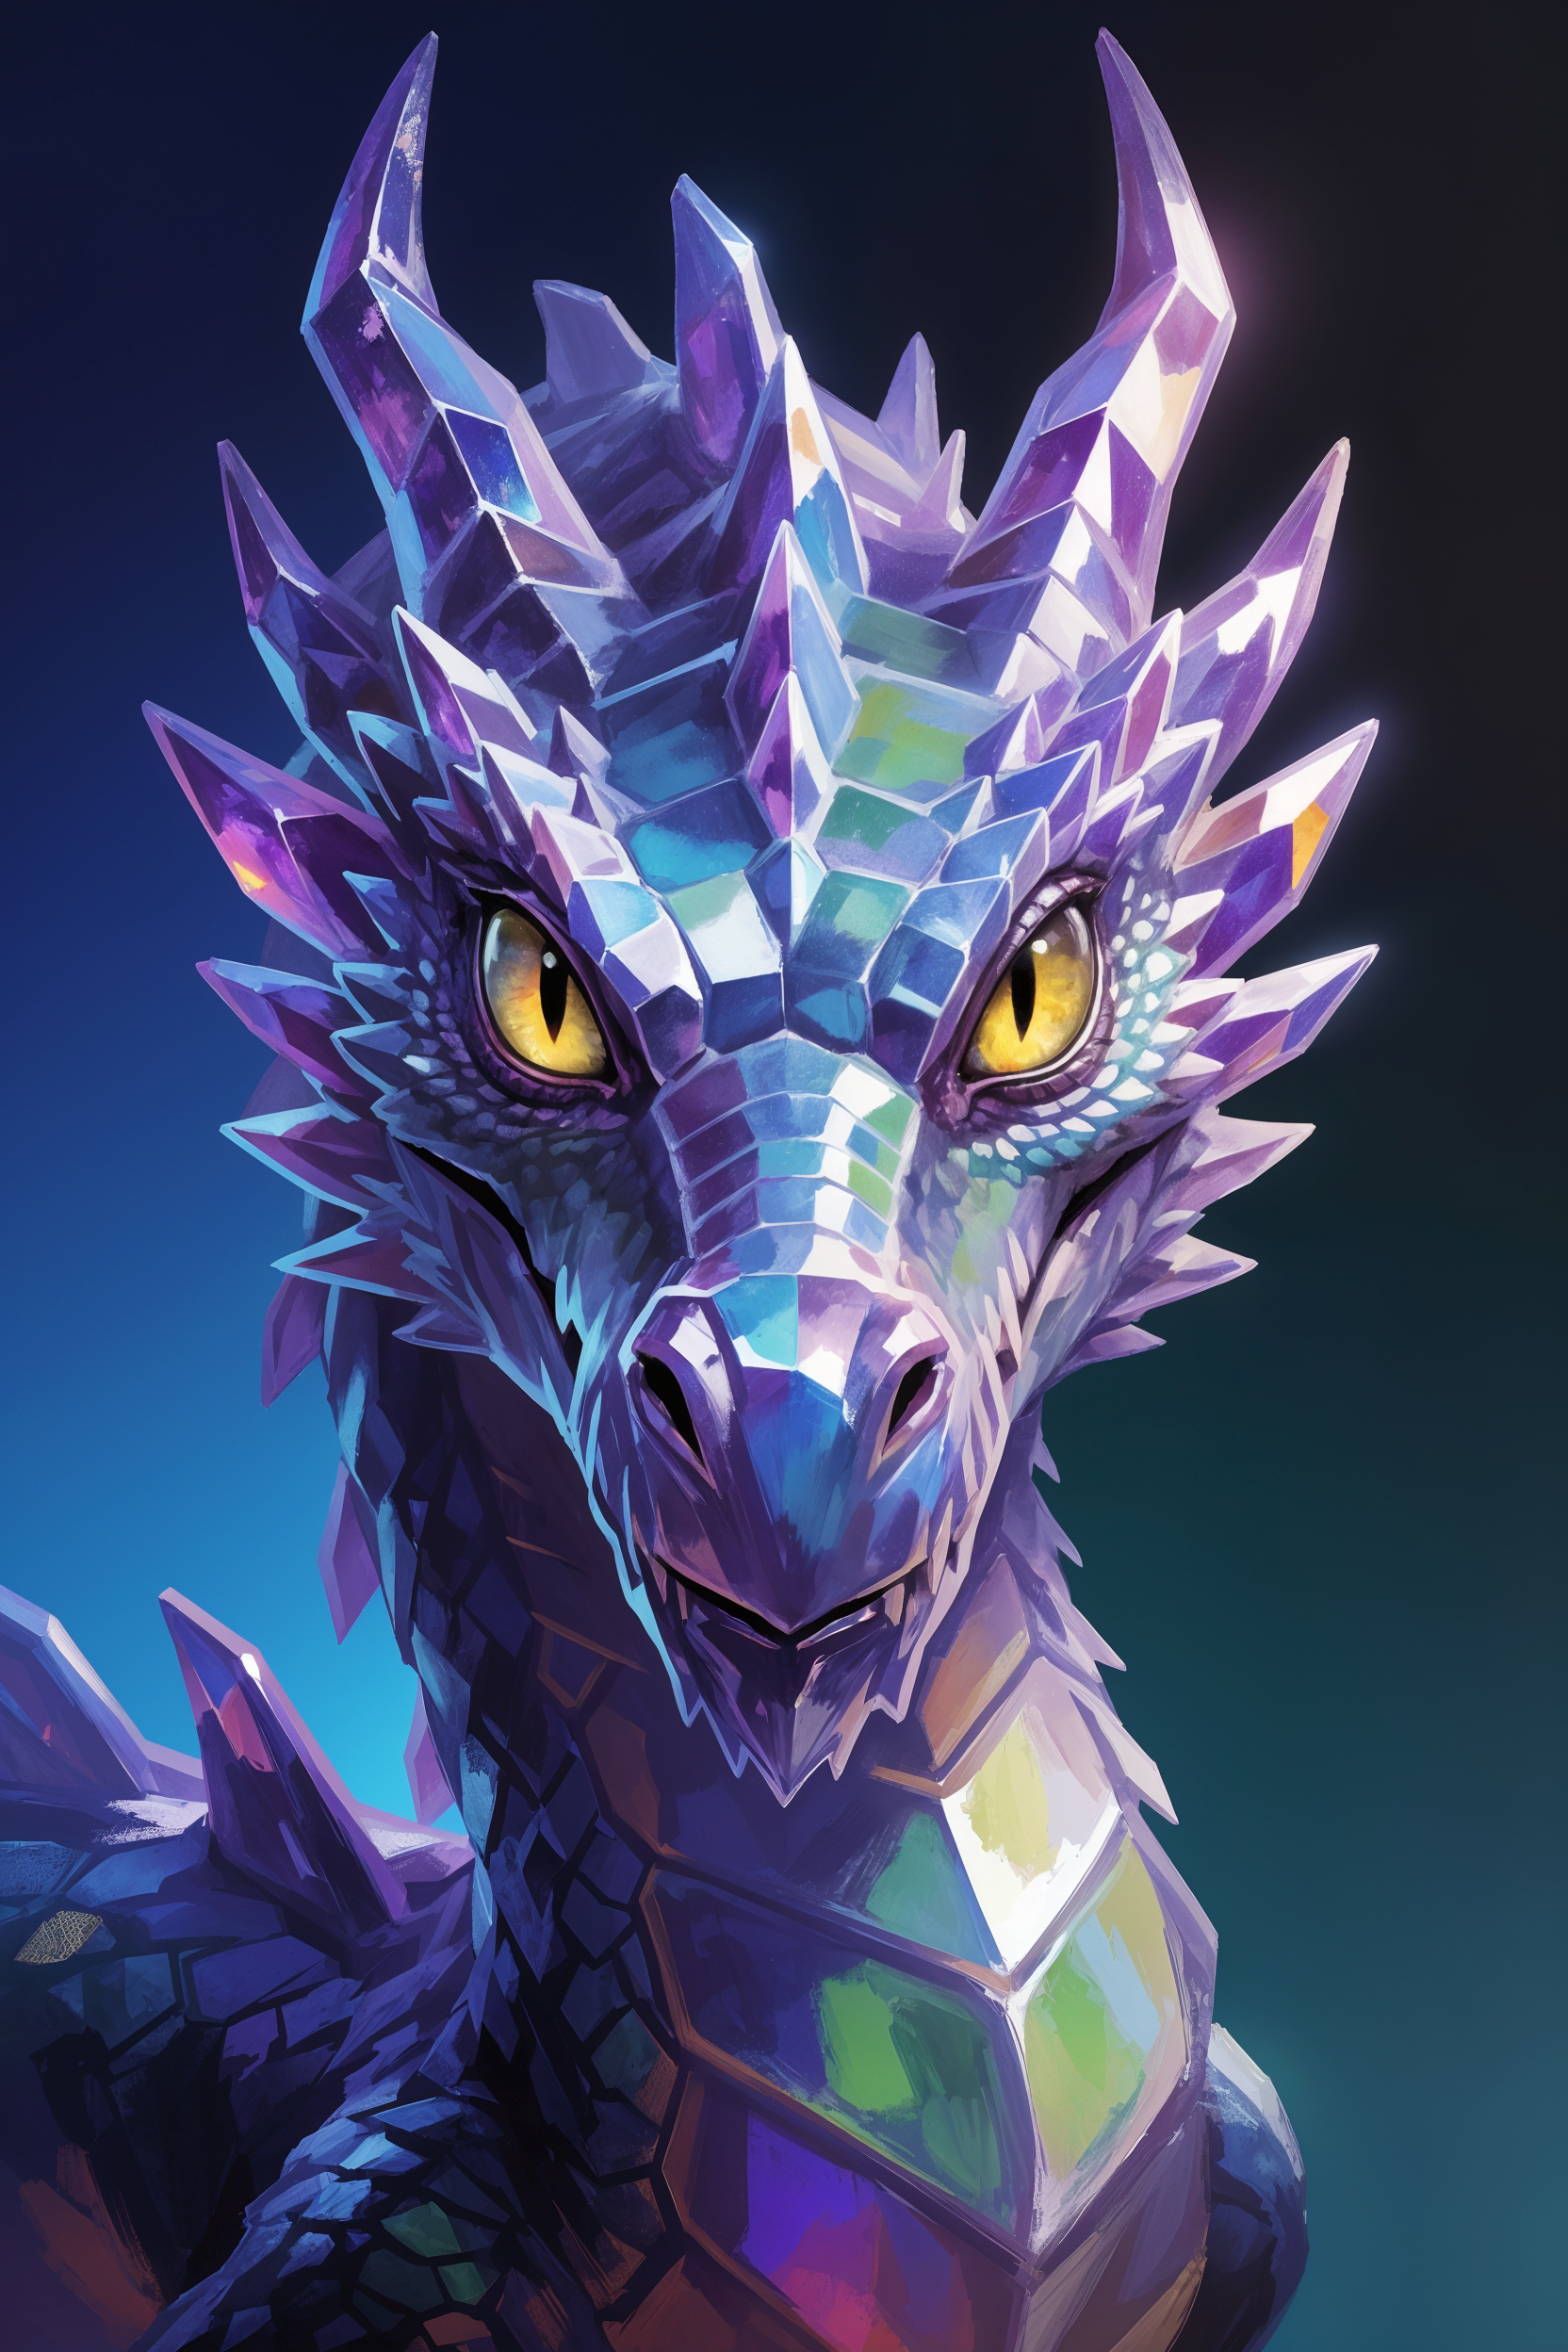
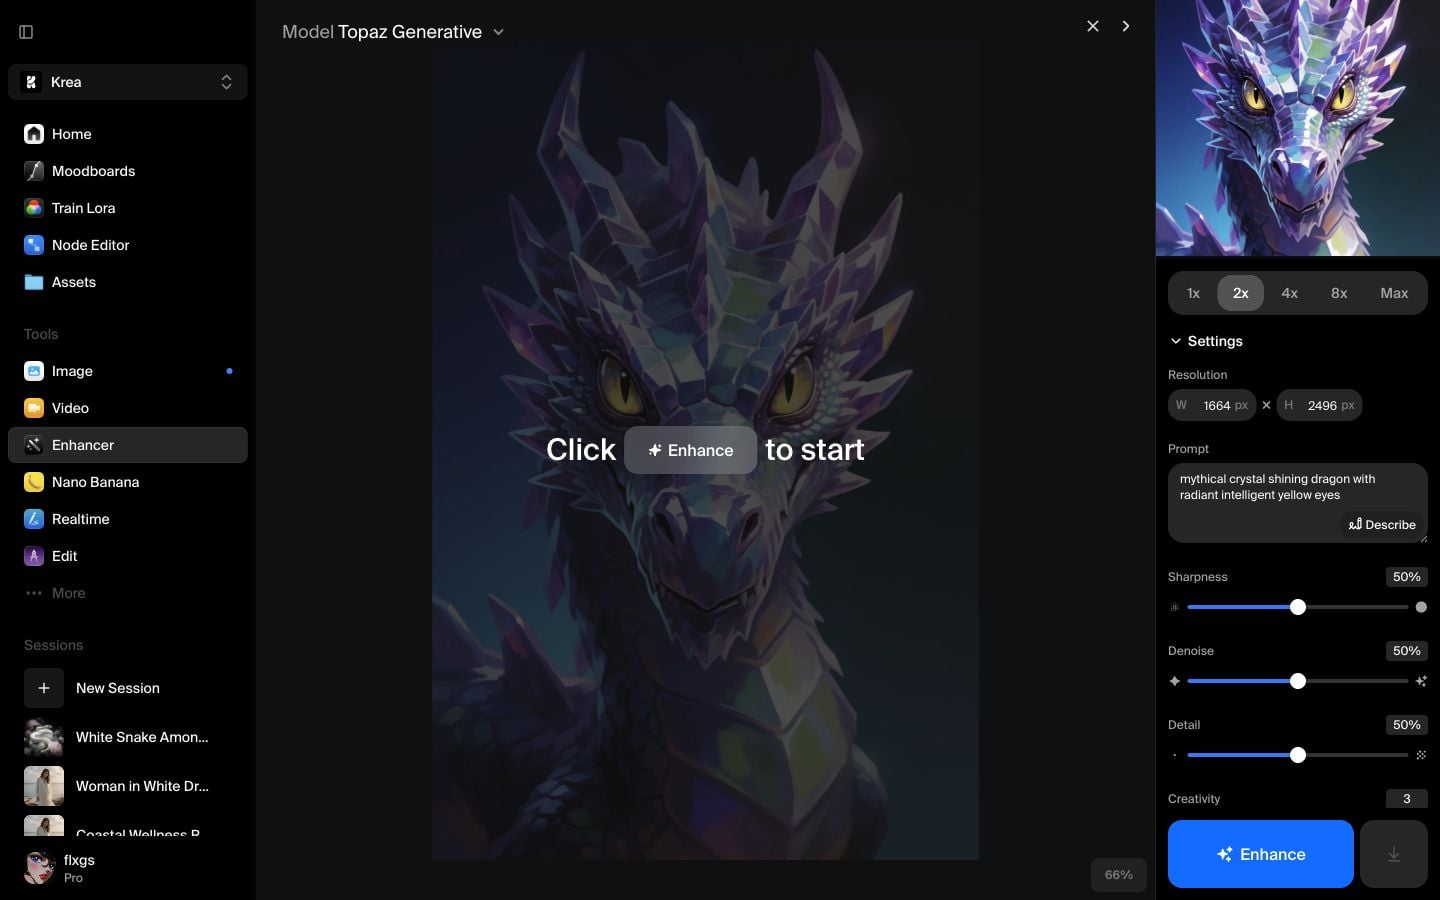
Click Select asset and choose a recent image from your Assets library. This walkthrough uses a crystal dragon image from the latest assets because it has hard edges, reflective surfaces, and facial detail that make the enhancement easy to judge.

Load the image and start at 2x
After the image loads, keep the first pass at 2x. In this example, the source image is 832 x 1248 and the 2x output becomes 1664 x 2496.
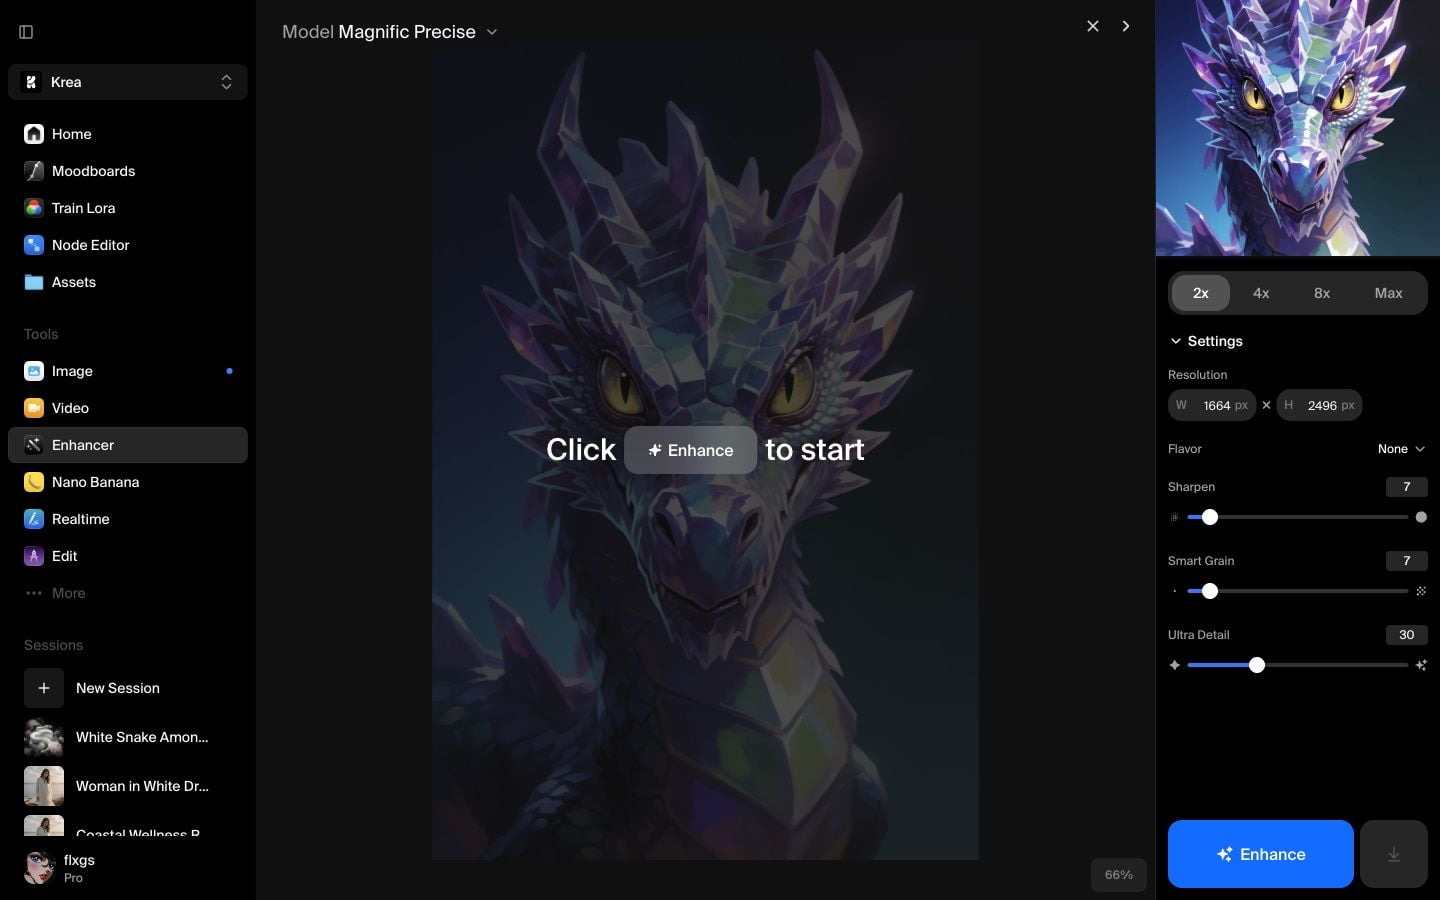
Starting at 2x is a practical default for Topaz Generative. It gives the model enough room to add detail while keeping the result easy to review before trying a larger upscale.
Choose Topaz Generative
Open the Model selector and choose Topaz Generative under Generative Enhancers. It is the slower Topaz enhancer option designed for high-quality output when time is less important than detail.
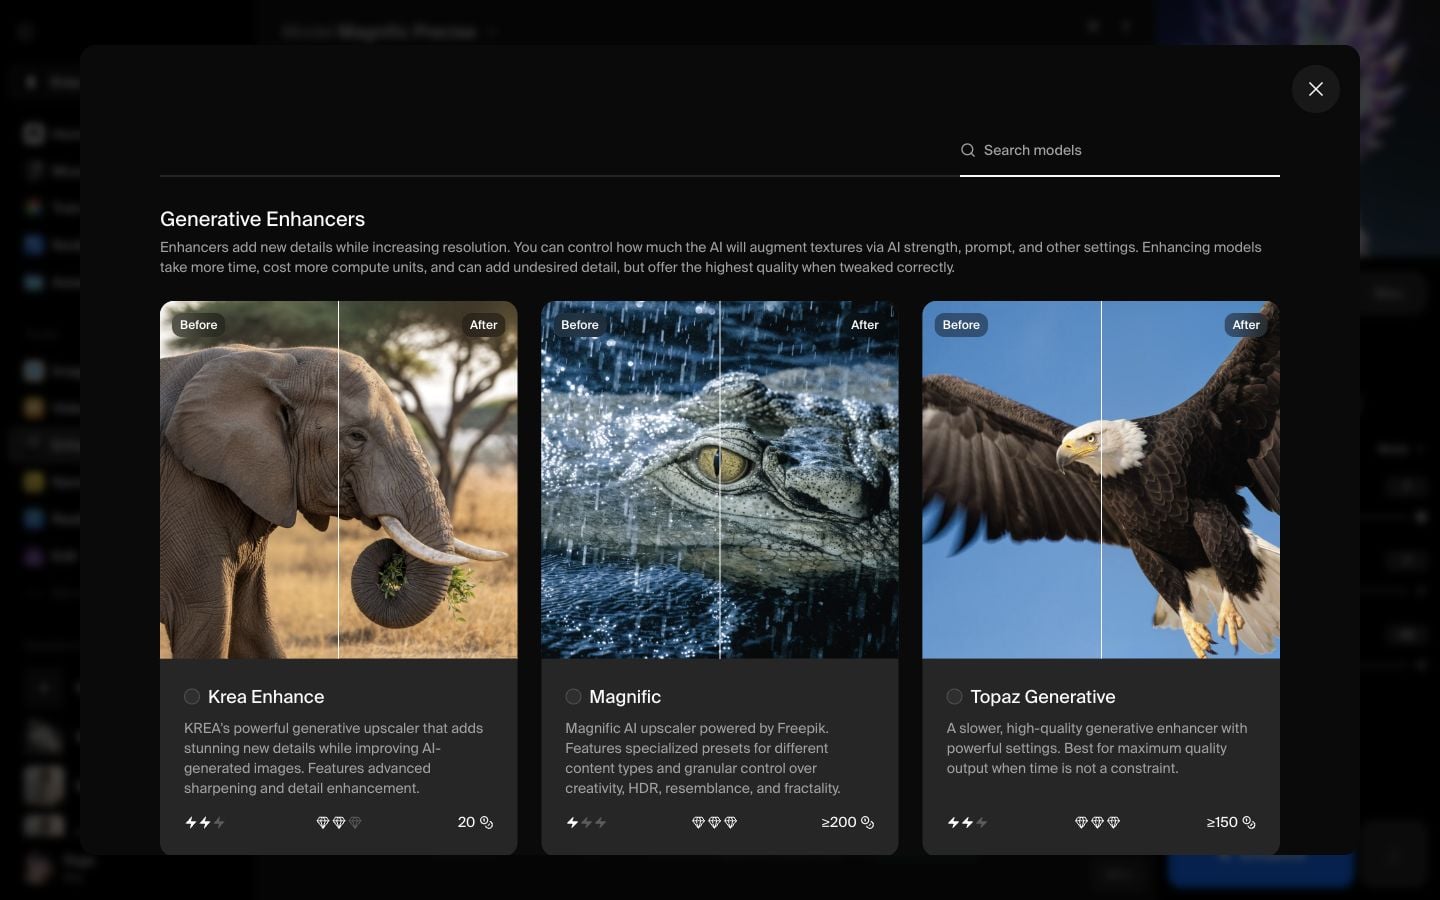
Check the Topaz settings
Topaz Generative gives you a prompt plus a focused set of enhancement controls. For a first pass, keep the defaults:
- Sharpness: 50%
- Denoise: 50%
- Detail: 50%
- Creativity: 3
- Texture: 3
- Subject Detection: All
Use the prompt to tell Topaz what the image should remain. In this walkthrough, Krea uses: “mythical crystal shining dragon with radiant intelligent yellow eyes.”
Run and compare the result
Click Enhance and wait for the job to finish. When the enhanced image appears, use split view to compare the original and the output. On detailed subjects, look at edges, reflective highlights, eyes, and fine texture.
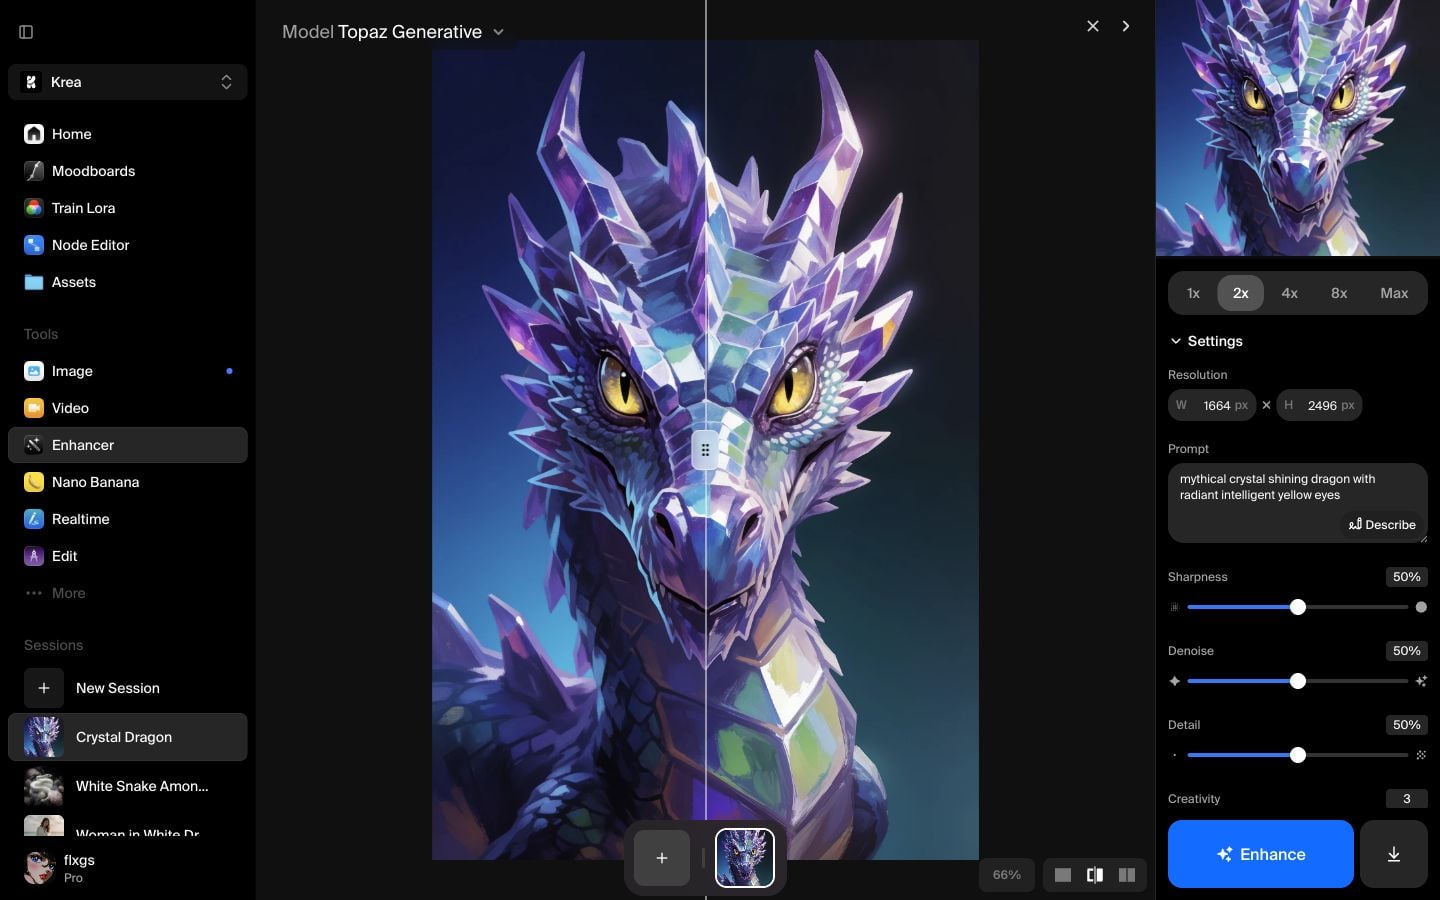
Here is the enhanced output from the walkthrough:
Quick checklist
- Use Topaz Generative when quality matters more than speed.
- Start at 2x unless you already know the final delivery size.
- Keep the prompt short and descriptive so the subject stays coherent.
- Lower Creativity or Texture if the result starts inventing too much detail.
- Compare in split view before downloading or running a larger upscale.
Try Topaz Generative in Krea
Open Enhancer, select Topaz Generative, and create a detailed high-resolution version of your image.
Open EnhancerFrequently asked questions
Use Topaz Generative when you want a slower, high-quality enhancement that adds cleaner detail and texture while increasing resolution.
Topaz Generative is a generative enhancer that can add detail. Topaz is a simpler upscaler for increasing resolution with less creative change.
Start with 2x. It is easier to review and usually enough to decide whether the image needs a larger upscale.
A prompt helps Topaz preserve the subject and style. Keep it short: describe the subject, key materials, and the visual quality you want to maintain.